Welcome to the wonderful world of weaving! Whether you’re a complete novice or have dabbled in other crafts, learning basic weaving techniques can open up a realm of creative possibilities. In this comprehensive guide, we’ll explore three fundamental weaving methods: plain weave, twill, and tapestry. These techniques form the backbone of many woven projects, from simple scarves to intricate wall hangings. By the end of this post, you’ll have the knowledge to start your first weaving project with confidence.
Weaving is an ancient craft that involves interlacing two sets of threads—the warp (lengthwise threads) and the weft (crosswise threads)—to create fabric. It’s a meditative and rewarding hobby that allows you to produce unique, handmade items. For beginners, starting with straightforward techniques is key to building skills without frustration. Let’s dive into each method, covering the basics, tools needed, and step-by-step instructions.
Plain Weave: The Foundation of Weaving
Plain weave, also known as tabby weave, is the simplest and most common weaving technique. It’s characterized by a simple over-and-under pattern, where the weft thread passes alternately over and under each warp thread. This creates a strong, durable fabric with a balanced appearance, making it ideal for beginners.
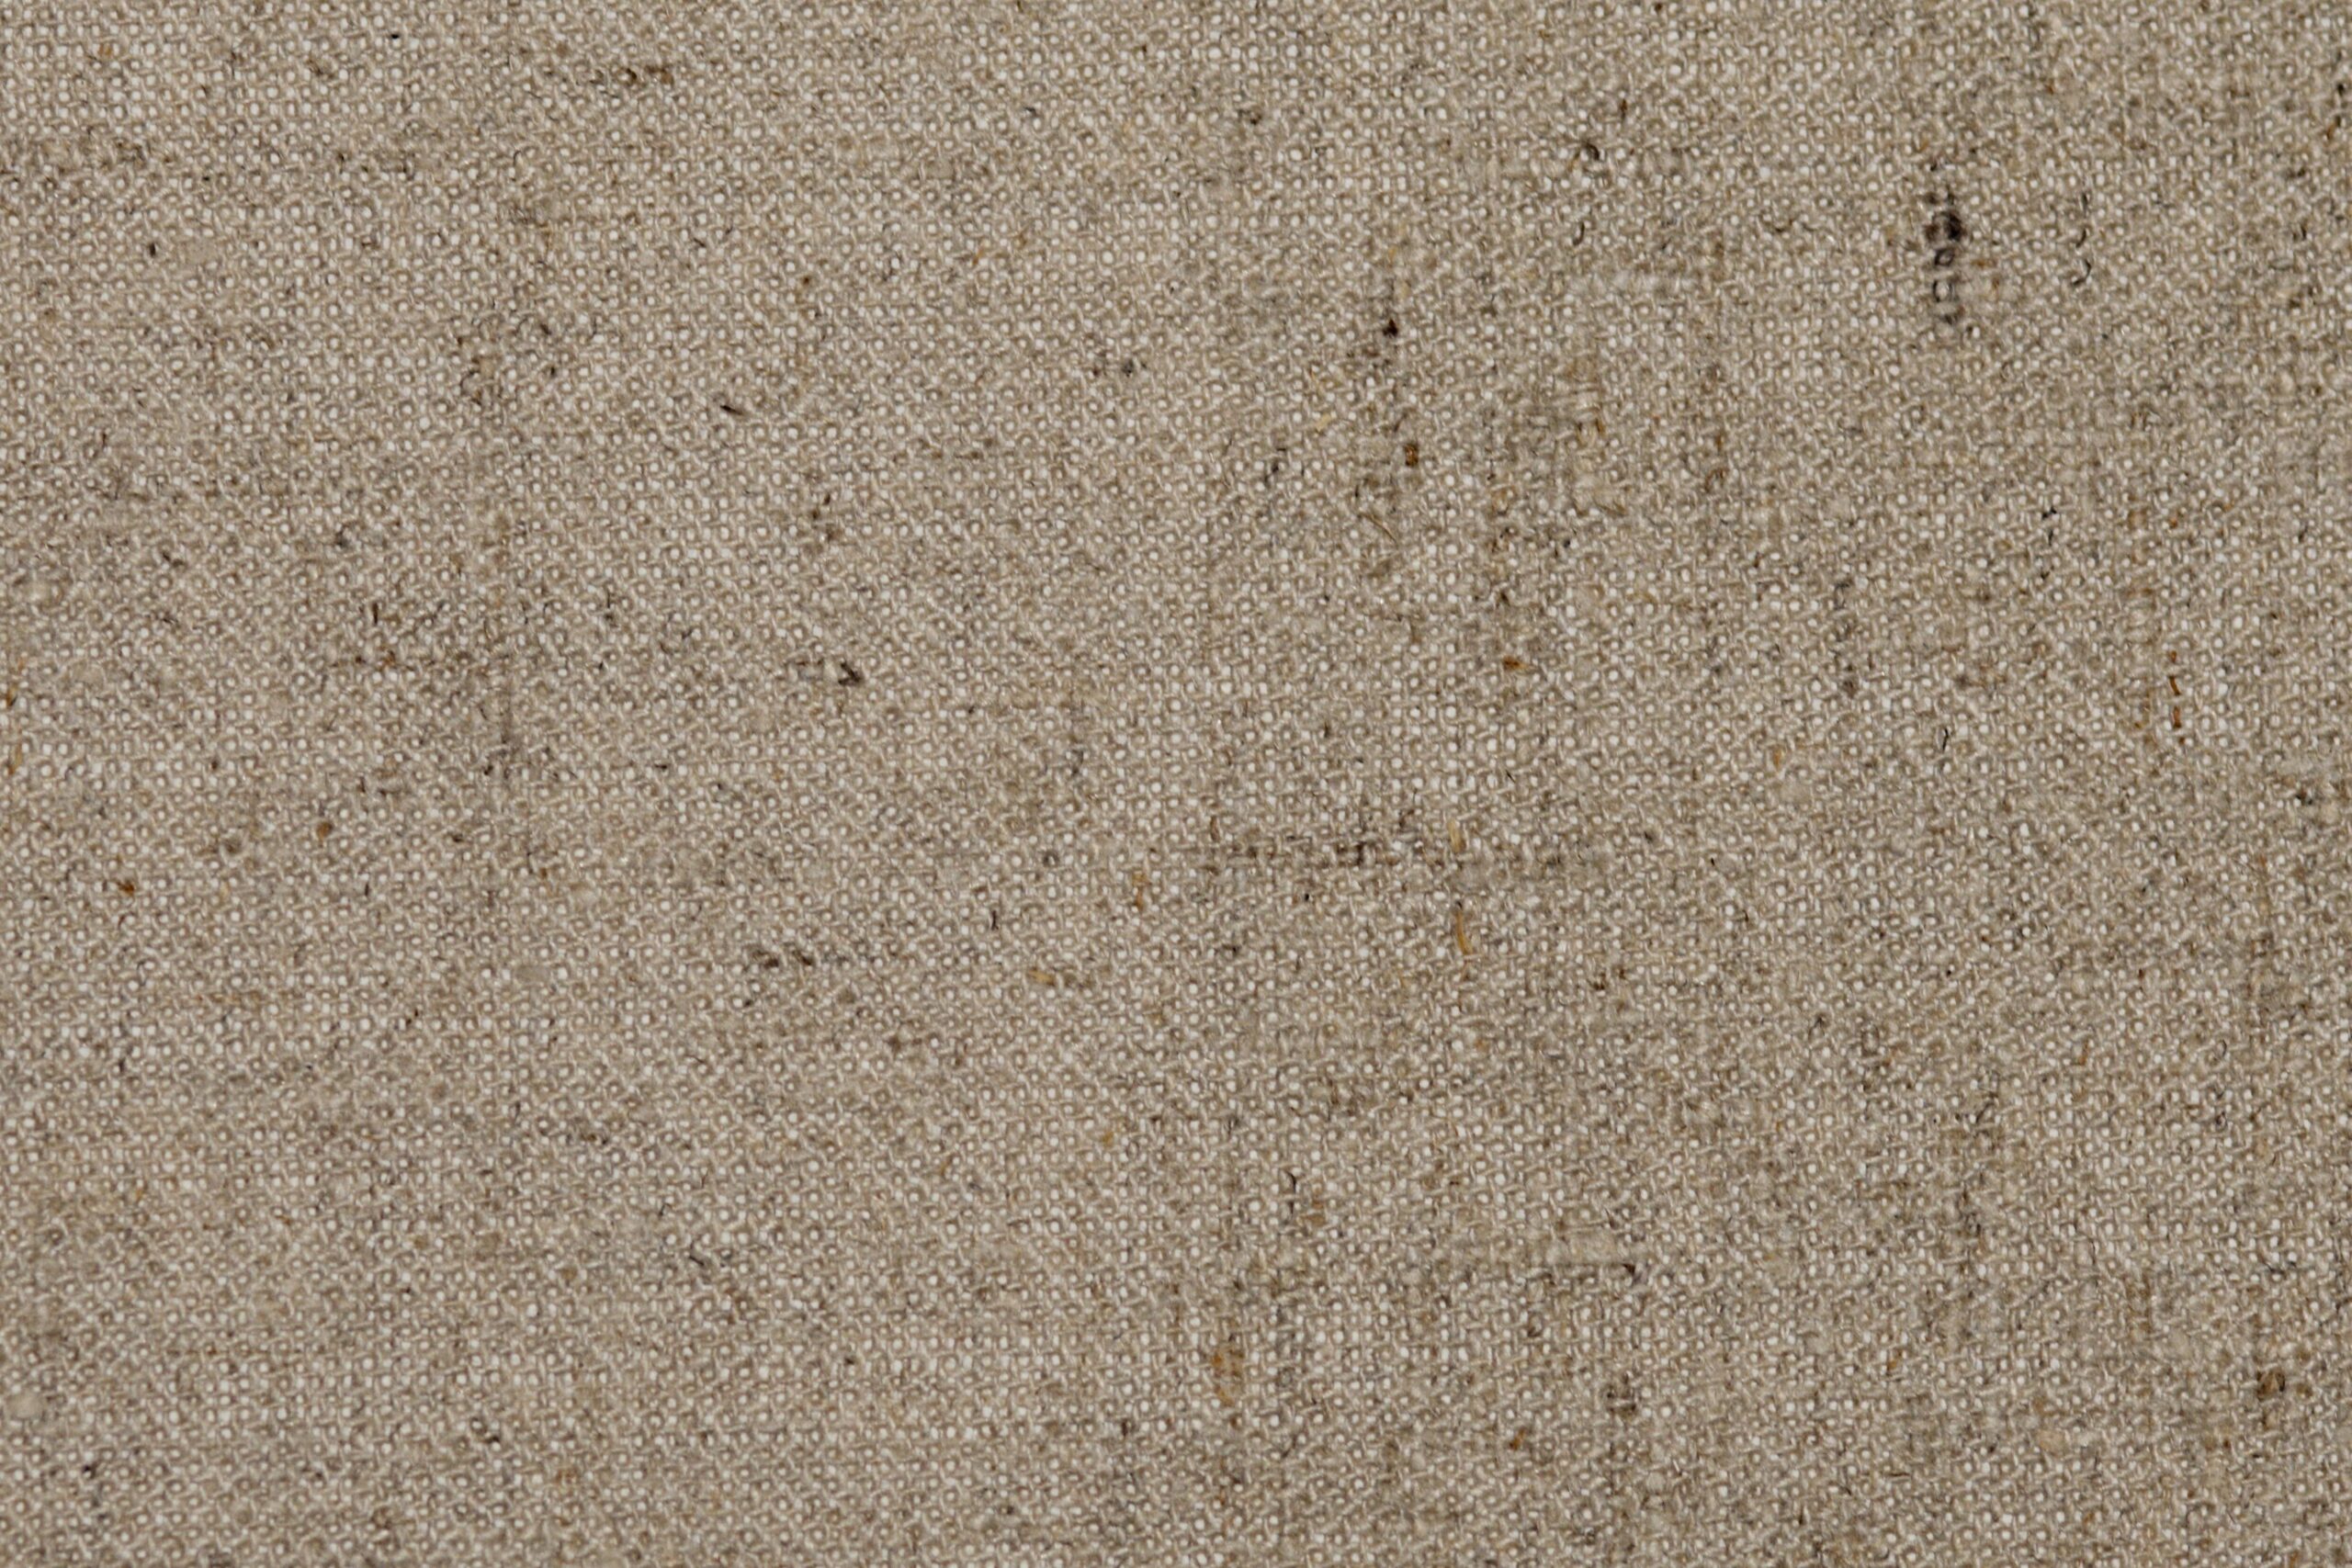
To start with plain weave, you’ll need a loom (even a simple frame loom works), warp thread (such as cotton or linen), weft thread (like wool or acrylic yarn), a shuttle or needle, and a comb or beater to pack the weft threads down. Begin by setting up your loom with the warp threads spaced evenly. Then, pass the weft thread over the first warp, under the second, over the third, and so on across the row. For the next row, reverse the pattern: under the first, over the second, under the third, etc. Repeat this process, beating down each row firmly to create a tight weave.
Plain weave is versatile and can be used for items like dishcloths, placemats, or simple bags. As you practice, experiment with different yarn textures and colors to add visual interest. Remember, consistency in tension is crucial—keep your weft threads evenly spaced to avoid loose or tight spots.
Twill Weave: Adding Texture and Pattern
Once you’re comfortable with plain weave, twill weave is a great next step. Twill creates a diagonal pattern on the fabric, resulting from a staggered weft sequence that shifts with each row. This technique produces a fabric that is softer and more pliable than plain weave, often used in garments like jeans or tweed fabrics.
For twill weave, the basic pattern involves the weft passing over two or more warp threads and then under one or more, with the pattern shifting by one warp thread in each subsequent row. A common example is the 2/2 twill: row one goes over two, under two; row two shifts to start under one, then over two, under two, and so on. This creates that classic diagonal line.
To try twill, use the same tools as for plain weave, but pay close attention to the sequence. It might help to sketch out the pattern first or use a draft (a weaving diagram). Start with a small project, like a coaster or a sample swatch, to get the hang of the rhythm. Twill allows for creative variations, such as herringbone or diamond patterns, by changing the shift direction. It’s a bit more complex but adds depth and sophistication to your work.
Tapestry Weaving: Creating Pictures with Thread
Tapestry weaving is a decorative technique where weft threads are woven to create images or patterns, often covering the warp completely. Unlike plain and twill weaves, tapestry focuses on the weft, allowing for detailed designs and color changes. It’s perfect for making wall hangings, pillows, or artistic pieces.
In tapestry, the weft threads are packed tightly to hide the warp, and you can use multiple colors in the same row by interlocking or dovetailing them. Start by setting up a simple warp on a loom. Then, using a needle or fingers, weave the weft back and forth in small sections, building up the design row by row. For beginners, try a geometric pattern or simple shapes to practice controlling the weft tension and color transitions.
Tools for tapestry include a sturdy loom, various colored yarns, and a tapestry needle.  This technique encourages creativity—you can depict landscapes, abstract art, or even words. Keep the weft firm but not too tight to avoid distorting the warp. As you advance, explore techniques like soumak or rya knots for added texture.
Tips for Success and Next Steps
No matter which technique you start with, patience and practice are key. Begin with small projects to build confidence, and don’t be afraid to make mistakes—they’re part of the learning process. Join online communities or local weaving groups for support and inspiration. As you progress, you can explore advanced looms, like rigid heddle or floor looms, and incorporate materials like silk or recycled fibers.
Weaving is not just about the final product; it’s about the joy of creating something with your hands. These beginner techniques lay a solid foundation for more complex methods like overshot or double weave. So grab your loom, choose your favorite yarn, and start weaving your first masterpiece today!


Leave a Reply